Adjusting headlights: how it works
 If your headlamps don’t illuminate the road well enough, making it difficult for you to see when driving, this isn’t only annoying but often very dangerous. However, in most cases you don’t necessarily need new parts: instead, you should just readjust the headlamps. We’ve summarised for you exactly how this works and when a visit to the workshop is worthwhile.
This is why the right adjustment is so important
Before we talk about adjusting your headlights, let's briefly summarise why this is so important. After all, correct adjustment of the car lights is extremely important not only for your own safety, but also other drivers’ safety.
Accidently adjusting your headlight beams too low or too high can give you – the driver – a much smaller illuminated view. As a result, you may detect obstacles or other road users too late and be unable to react in time. Furthermore, adjusting the headlight height too high is also extremely dangerous because they can dazzle oncoming traffic, significantly increasing the risk of accidents.
Car headlight adjustment guide
First, you should only undertake this task yourself if you really know how to do it and have previous experience. Although it’s possible to adjust headlamps without an adjustment device, it’s easy to make mistakes. In order to ensure your headlamps are adjusted correctly, it is best to take your vehicle to a mechanic, especially as these adjustments can usually be completed within a few minutes at an automotive workshop, and at an affordable price.

Note that there are two ways of incorrectly adjusting headlamps: with an incorrect basic setting and faulty headlamp levelling. If your headlamps have already been correctly adjusted, but your car is heavily loaded, you may also need to adjust the headlamp levels accordingly.
Adjusting the low beam, high beam and fog lamps
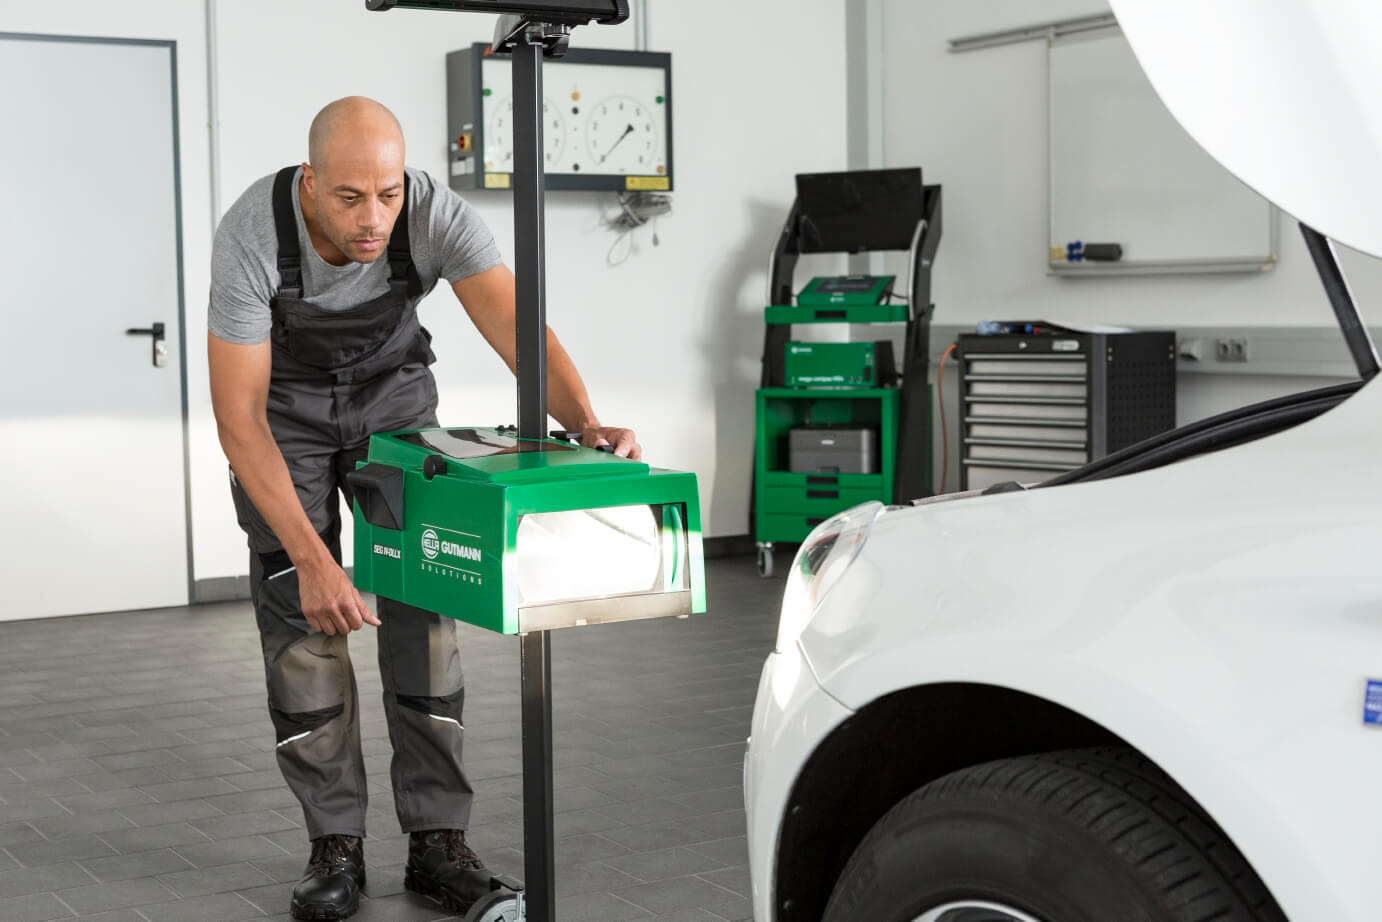
As already mentioned, properly adusting your headlamps at a workshop isn’t only safer, but often also saves more time than trying to do it yourself. This is because in a motor vehicle workshop, the adjustment is carried out using a headlamp adjustment device, making the whole process faster and more precise.
- If you still want to adjust the headlights yourself, you’ll need a white wall, a pencil and an adhesive strip. Park the vehicle ten metres away from the wall. It’s important that the boot of the vehicle is empty.
- Now, mark a horizontal guide line that corresponds to the height of the headlamps using the adhesive strip. Then mark the distance between the headlamps with two vertical guide lines. Draw the line in the middle of each headlamp.
- Next, mark the correction line with the adhesive strip: for a 10-metre distance, this must be 12 centimetres below the first line. This simulates a tilt angle of 1.2 degrees, which guarantees optimal visibility conditions.
- Once the lines are drawn, switch on the light. If the centre of the light cone is now on the correction line, the headlamps are correctly adjusted. If not, then you need to adjust the headlamps: there’s a screw above the headlamps. Turn it clockwise to raise the tilt angle or anticlockwise to lower it.
Please note: unlike the low beam, the optimum tilt angle for the fog lamp is between 2 and 2.5 degrees. The high beam is adjusted directly with the low beam.
Adjusting LED headlamps and xenon headlamps
Adjusting your xenon headlamps yourself isn’t only complicated but is usually only partially possible. Often you can only reset the headlamp to the basic setting. The same applies to adjusting LED headlamps. With complicated systems such as matrix LED, you can no longer make any adjustments yourself. Visiting the workshop is mandatory in this case.
Adjusting motorbike lights
For motorbikes, proceed in the same way as when adjusting headlights for your car. Place the motorbike in front of a white wall and then draw the auxiliary and correction lines. Now you can adjust the headlamp. With motorbikes, it’s particularly important to use the correct tyre pressure and suspension strut settings.
