Changing low beam headlamp bulb : This is how it works
If your car has xenon or LED headlamps, you won’t be able to replace the low beam bulb yourself and will need to go to a workshop. Because of how LED headlamps are designed, the complete headlamp must be replaced and not just the individual LED diodes. Replacing xenon headlamps is also not possible for non-professionals as, after the change, the headlamps must be adjusted correctly, a task requiring special tools and measuring equipment.

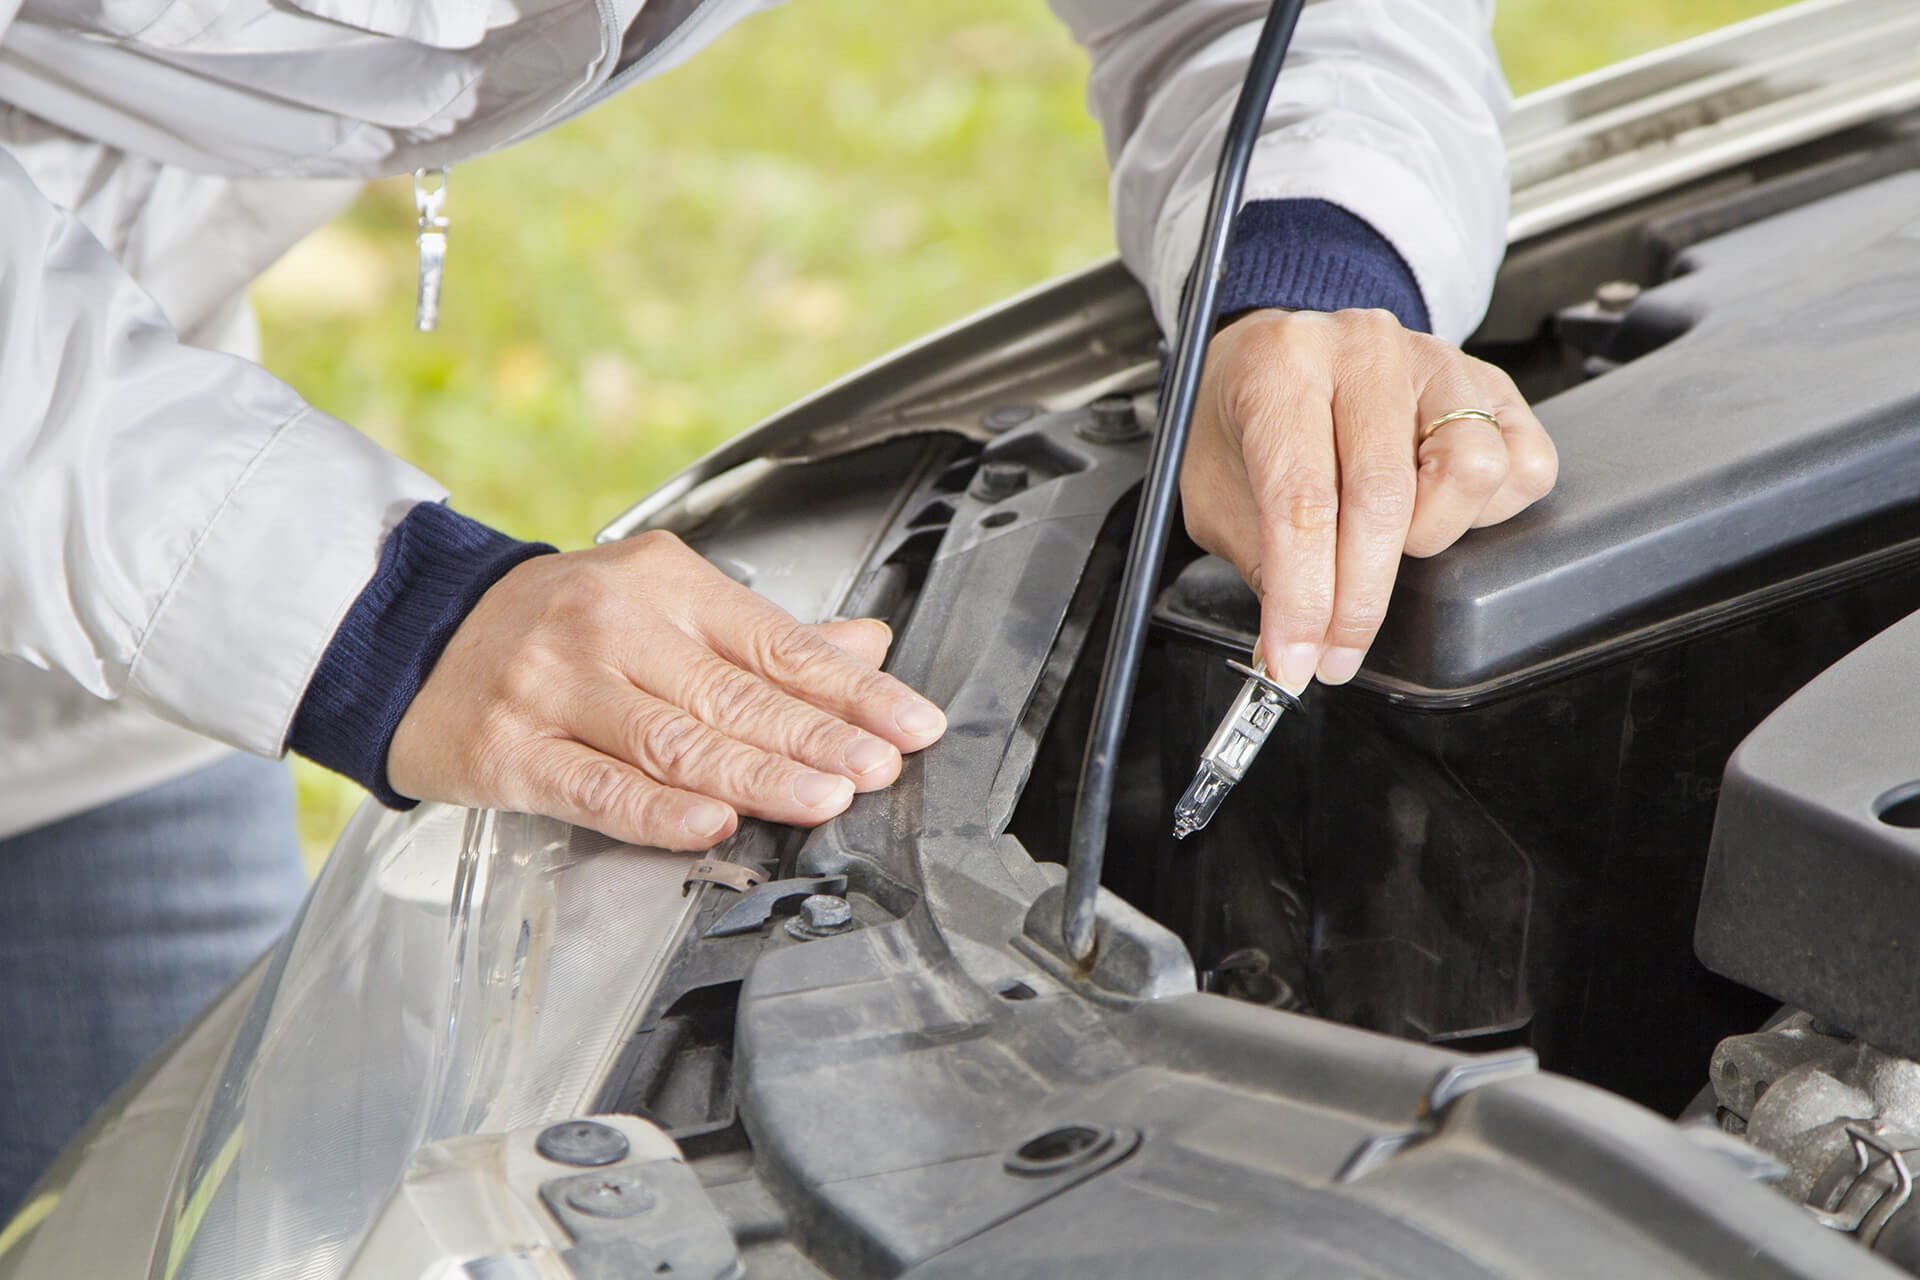
However, if your vehicle has ordinary bulbs, you can in many cases change them yourself. There are differences from vehicle to vehicle as to how simple or complex the change can be. On some vehicles it is easy to access the bulbs from inside the bonnet, on other vehicles the headlamps have to be dismantled. Refer to your car owner's manual for instructions on how to change bulbs. If you are not confident enough to do this yourself, it is best to go to a workshop.
Changing low beam headlamp bulbs: What are the costs?
Depending on the type of headlamp, the cost of changing headlamp bulbs varies considerably. While the cost of replacing LED headlamps is in the mid three-digit range, replacing a conventional bulb is a lot cheaper. Replacing a set of low beam bulbs usually costs no more than ten pounds. You can often buy them at supermarkets, petrol stations or specialist car accessory stores.
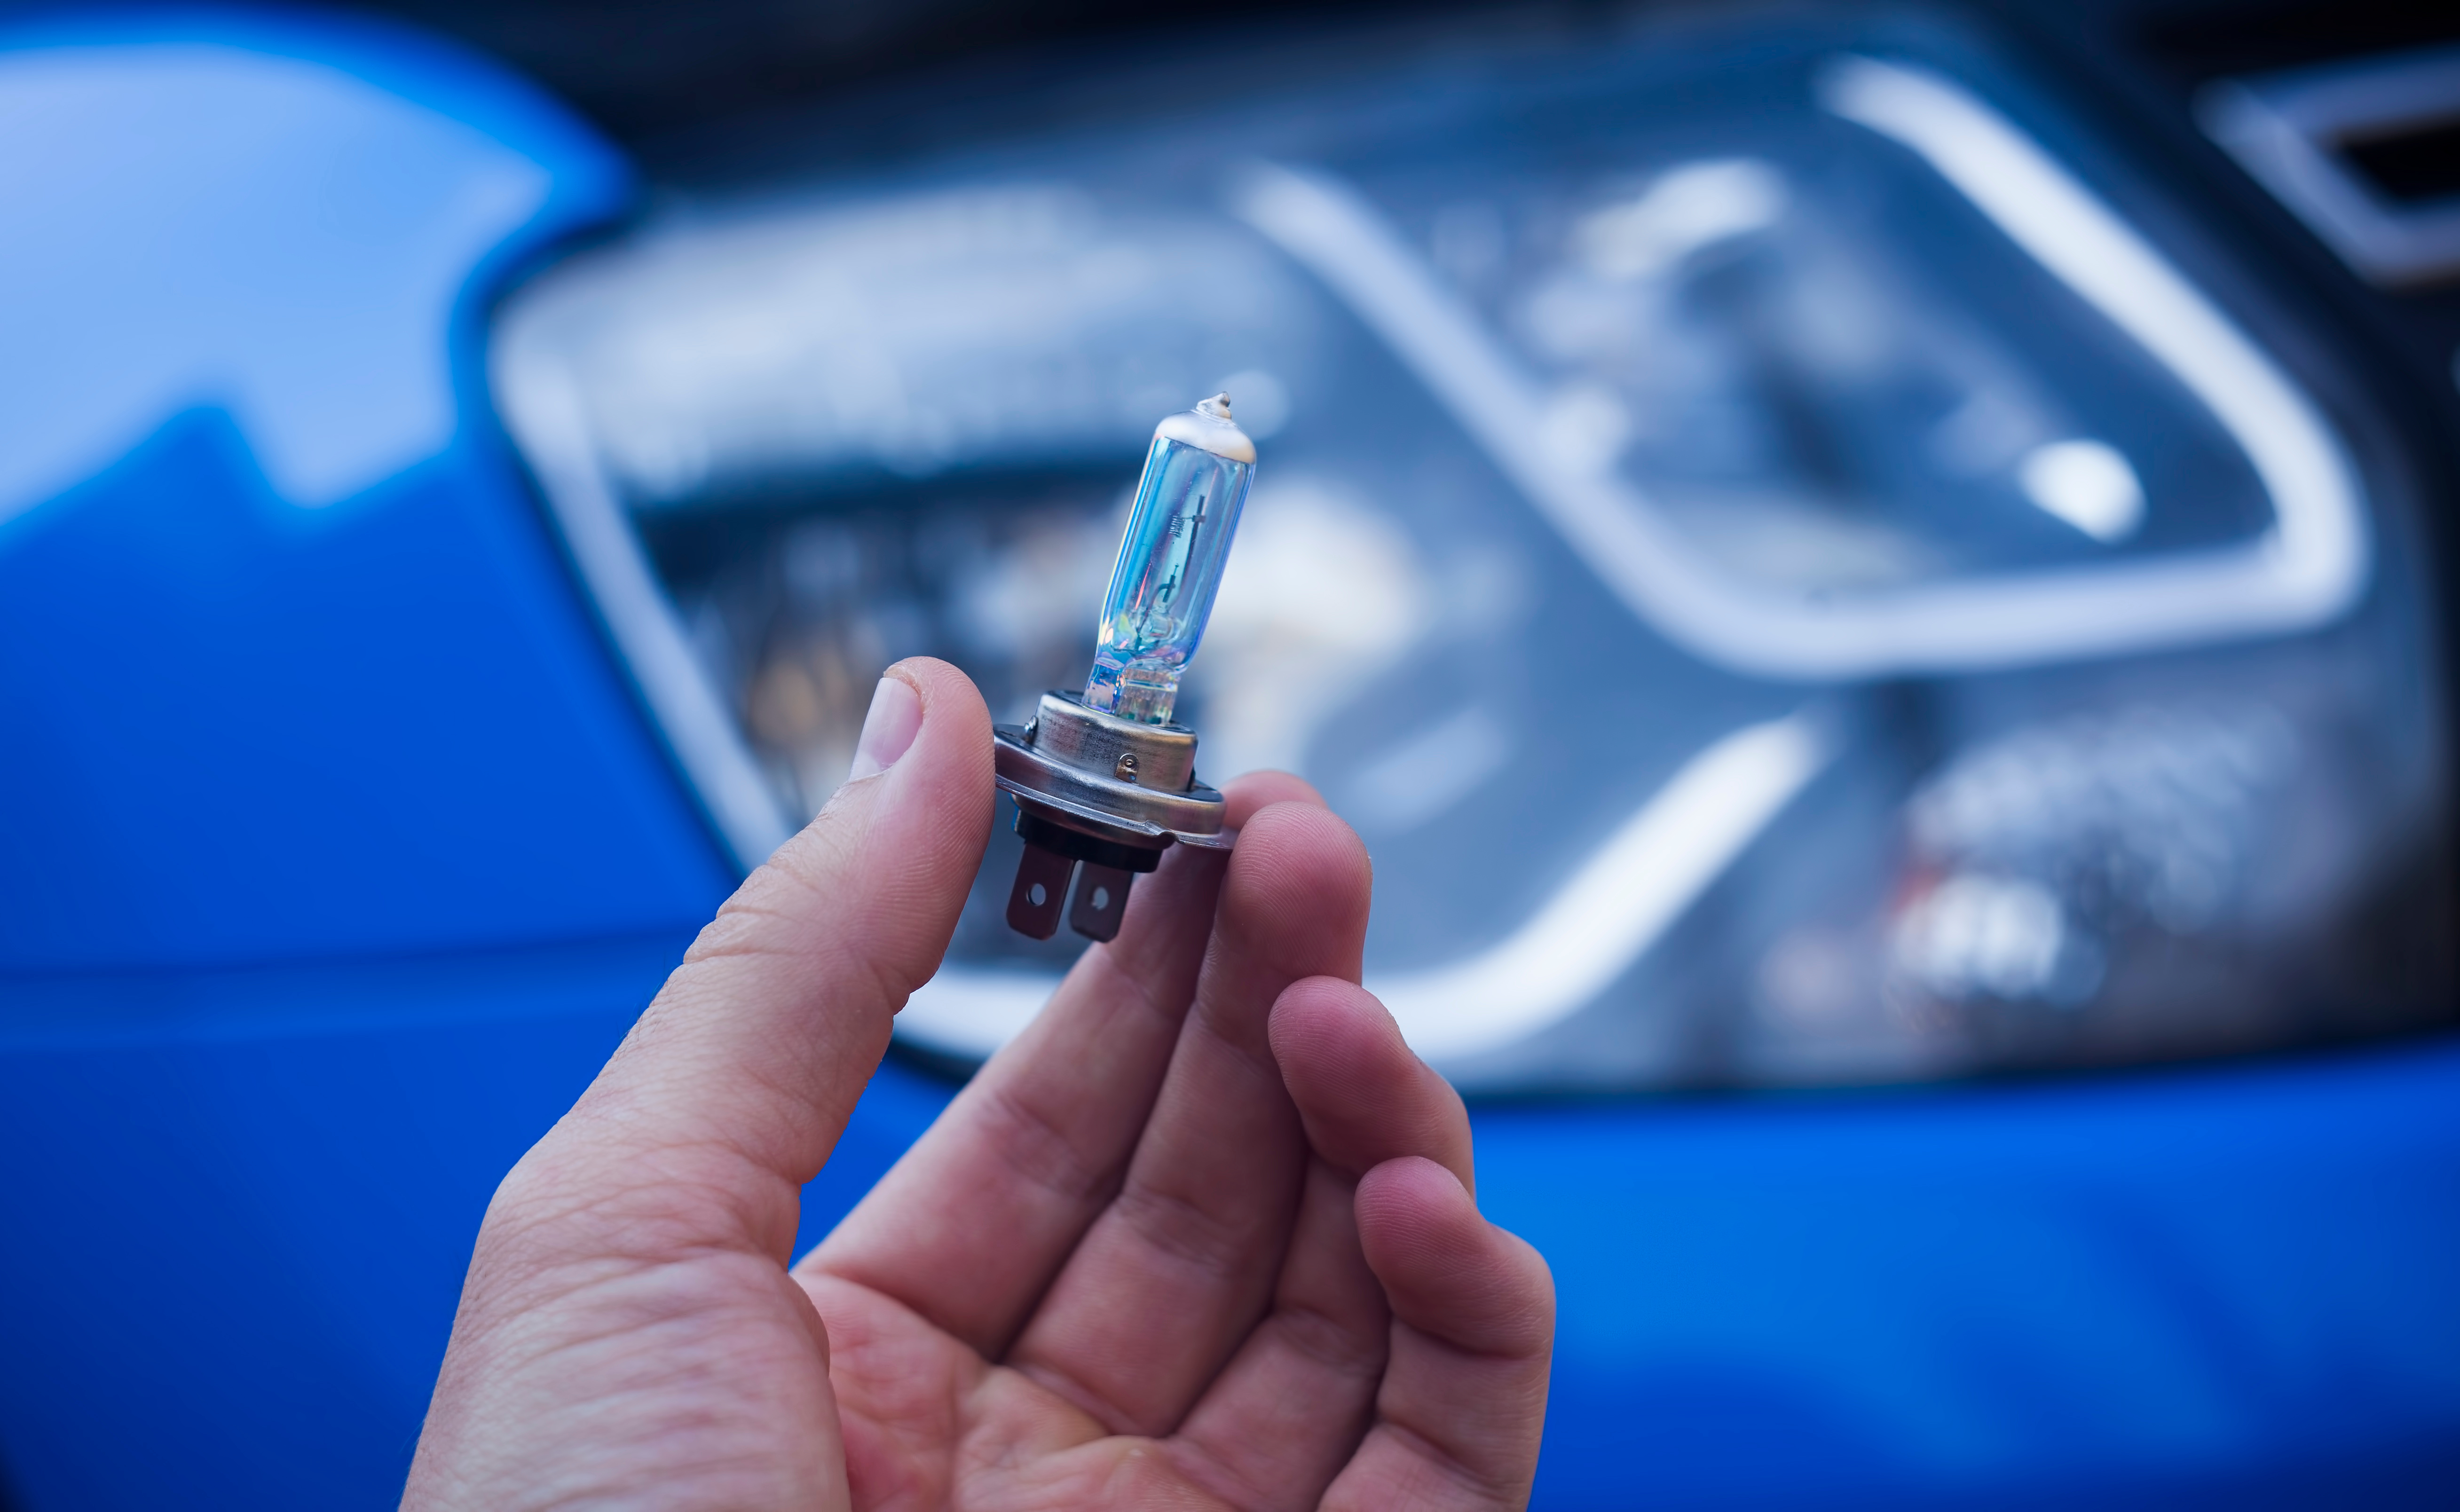
When choosing a bulb, pay attention to its quality. The price should not be the decisive factor when purchasing. The reason: high-quality bulbs usually have a longer lifetime and better lighting properties.
Replacing low beam bulbs on both sides
Often only one bulb is defective. Nevertheless, it is often advisable to change both at the same time: since bulbs of the same make have a similar lifetime, it is usually only a matter of weeks before the second bulb also gives up the ghost. Therefore, it is best to replace both right away to save yourself the double work.

See the manual for the bulb required for your vehicle. When making your selection, always adhere to the specifications in the manual. An incorrectly equipped headlamp can lead to the voiding of an operating licence – and thus to a fine or to the refusal of the TÜV sticker (MOT certificate) at the next general inspection.
How to change the headlamp bulb on your car

As the method of changing a bulb varies from vehicle to vehicle, here are some general tips first. See the section "Bulb replacement for common models" to find more specific instructions for selected vehicle models.
It is always best to consult your vehicle manual for details first. It is advisable to carry out the change in a dry and bright or well-lit place so that you can work optimally. Do not touch the glass bulb of the new light bulb under any circumstances as any grease residues will reduce its lifetime expectancy. Ideally you should wear thin fabric gloves to carry out the work. Proceed as follows:
- Switch off the ignition of the car and the lights.
- Either open the bonnet or dismantle the headlamp (depending on the vehicle type).
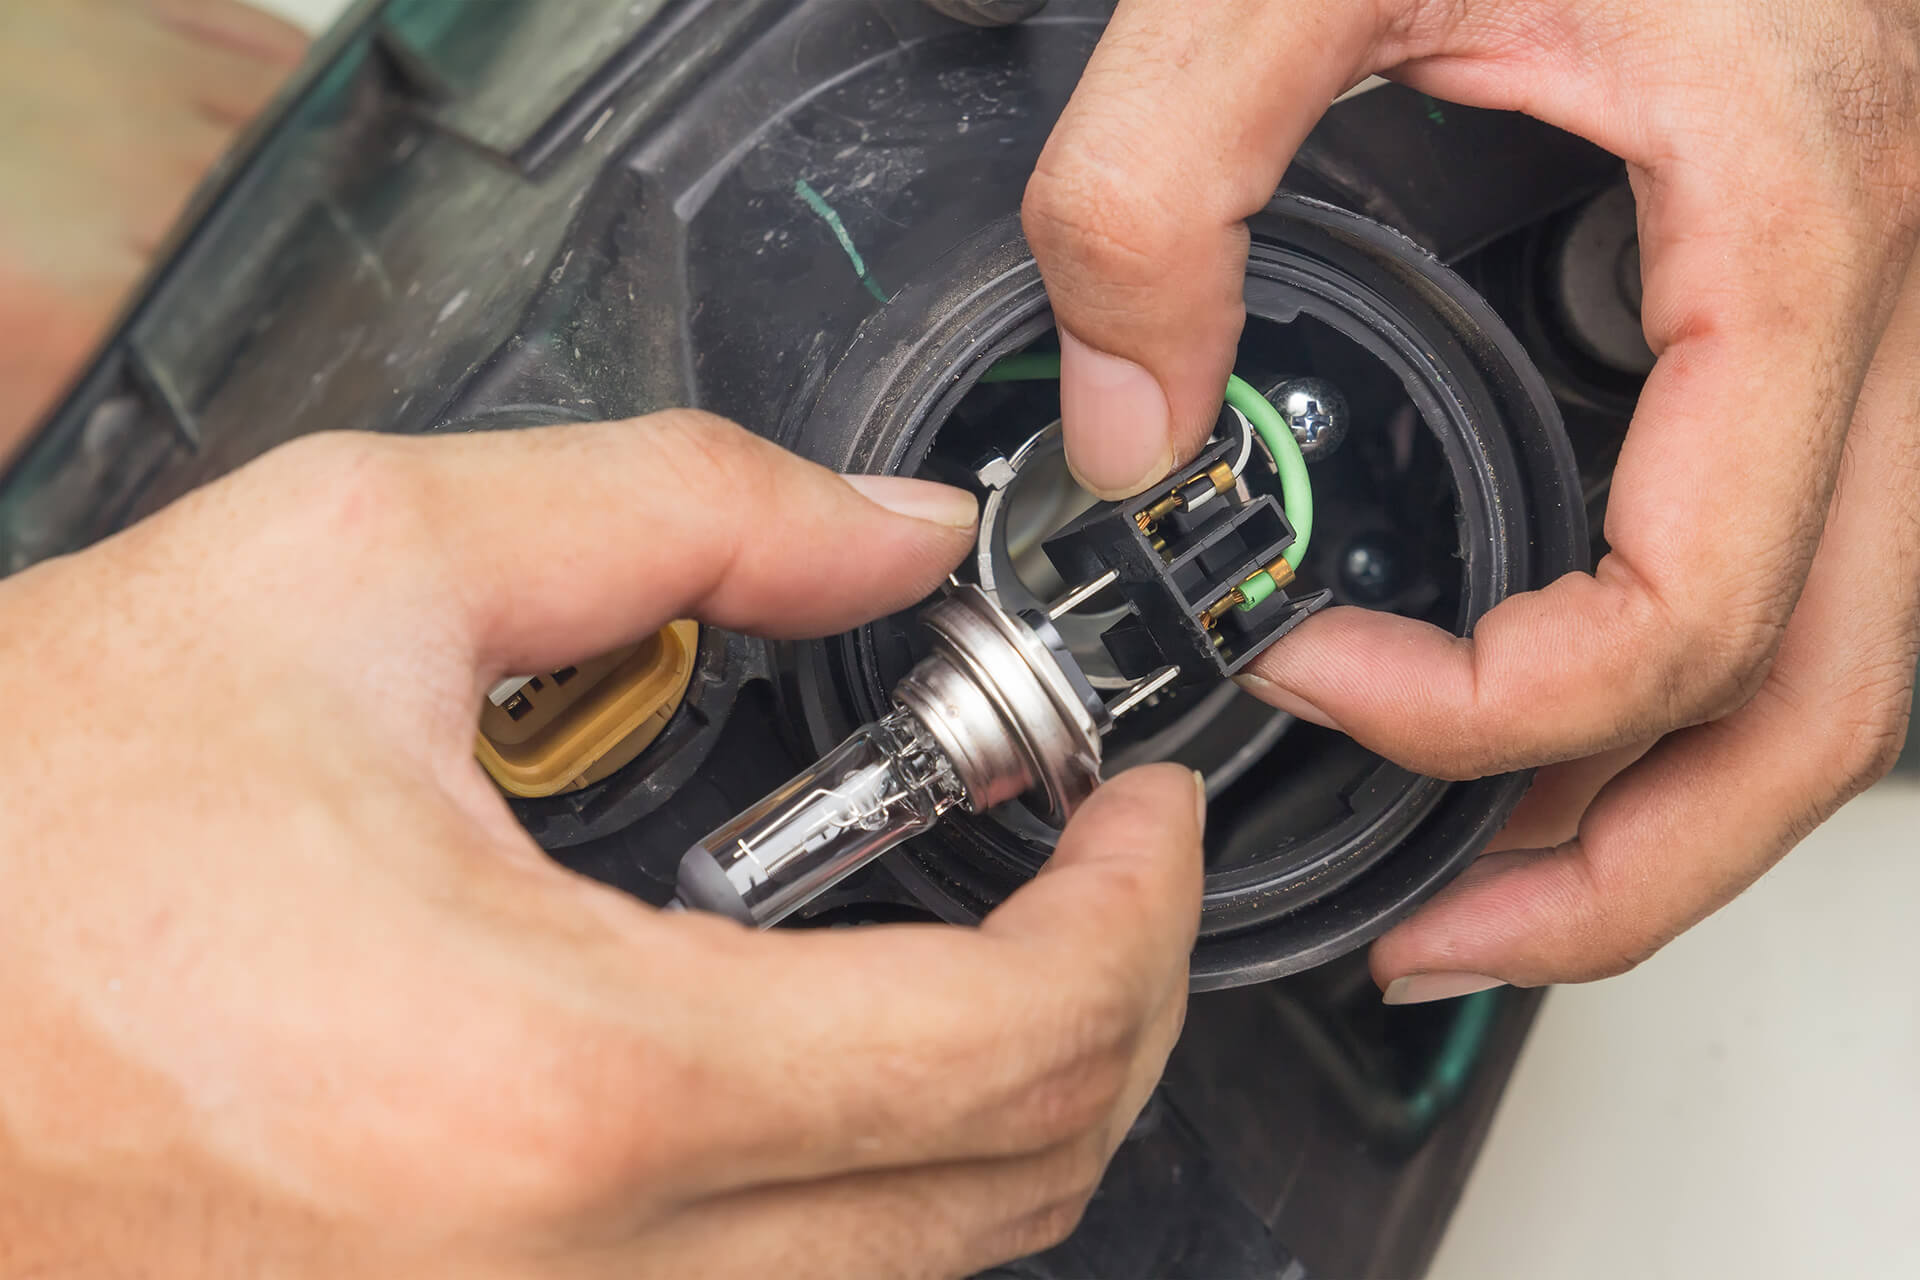
- Remove the old bulb from its fixture.
- Insert the new bulb.
- Replace the low beam bulb on the other side.
- Start the ignition and switch on the lights.
- Check to see that both the low beam and also the high beam work on both sides.
It may happen that the filament on the new bulb is positioned slightly differently from that on the old one – especially if you are using bulbs produced by a manufacturer different from the one who supplied previous bulbs. This could cause you to dazzle oncoming traffic. To avoid this, you should go to a workshop and have the headlamp readjusted where necessary.
So as to be able to change headlamp bulbs spontaneously while on the road, it is advisable to always have a set of bulbs ready in the boot. Since driving with defective bulbs is not only a safety risk but also punishable by heavy fines, especially abroad, you will then always be on the safe side.
Changing headlamp bulbs on common vehicle models
We have put together a more specific guide dealing with a selection of some particularly popular vehicles. You still also need to follow the steps mentioned above. As a rule, changing bulbs only differs as regards the loosening of the bulb’s fixture: therefore the following information just deals with this.
Changing the low beam on the Golf 7
Remove the bulb of the low beam on the Golf 7 as follows:
- With the bonnet open, look for a black round cap behind the headlamp.
- Pull off this cap.
- To the right or left of the cap (depending on which side you want to change the bulb) is a black cover: Unscrew this.
- Under the cover is the holder with the bulb. Then also unscrew or unplug the holder.
- Insert the new bulb and carry out the above steps in reverse order.
Changing the low beam on the Golf 6
Remove the bulb of the low beam on the Golf 6 as follows:
- Fold down metal bracket at the rear end of the headlamp, where the bulb for the low beam is located. A cover will open, which you now remove.
- In the opening behind it, feel for a plate. When you unscrew it, you already have the holder and the bulb in your hand.
- Unscrew the old bulb and insert the new one.
- Carry out the above steps in reverse order.
Changing the low beam on the Golf 4
Remove the bulb of the low beam on the Golf 4 as follows:
- Remove the plastic cover behind the headlamp.
- Disconnect the cable connector for the low beam.
- Fold down the metal bracket that holds the bulb.
- Remove the old bulb and insert the new one.
- Follow the steps above in reverse order.
Opel Astra J and Opel Corsa D: Changing low beam
Remove the bulb of the low beam on the Opel Corsa D/Opel Astra J (3-door hatchback variant) as follows:
- Unscrew the protective cap behind which the bulb of the low beam is located in an anti-clockwise direction.
- Pull the small plastic lever at the bottom of the bulb holder upwards to release the fixture.
- Take out the socket and remove the old bulb.
- Insert the new bulb and carry out the above steps in reverse order.
